
Content & Marketing · UK Guide 2026
Product Demo Video Shot List
Updated 9 September 2026 · 2,341 words
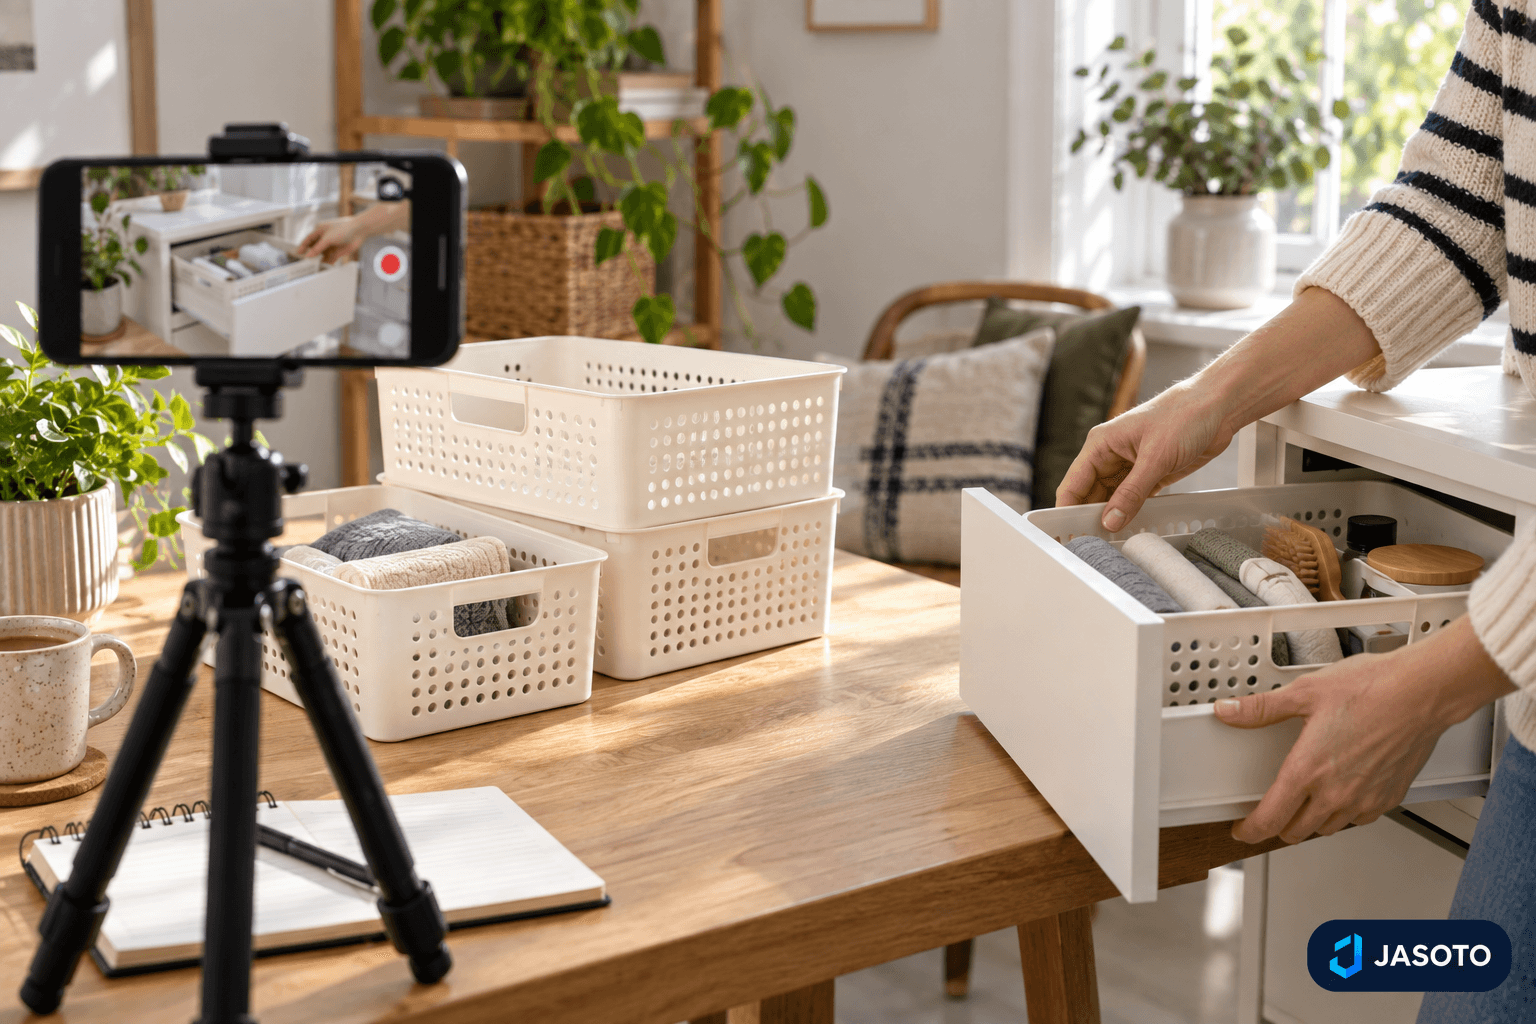
AI-generated illustrative image. It does not depict an actual customer project or a tested product.
A product demonstration works best when it answers a buyer’s real question rather than trying to impress them with unrelated visuals. If someone is watching, they are usually trying to understand whether the item fits their space, how it sets up, what it does in normal use, and whether any limitations matter to them. A clear shot list keeps those questions in mind from the start, so the finished video feels honest, useful and easy to follow.
For small businesses, that approach is especially helpful because a demonstration often has to do more than one job at once. It should show the product in context, reveal the parts that matter, and give the viewer enough detail to make sense of what they are seeing. The safest and most effective method is to plan around the actual product, the actual setup and the actual operation, then add captions or a short summary only where they help the viewer understand what the footage already shows.
At a glance
- Choose one buyer question and build the whole demo around it.
- Show real context, setup and operation instead of relying on decorative footage.
- Distinguish included items from optional accessories so viewers are not misled.
- Review the final words against the actual footage before publishing.
Start with the buyer’s question, not the camera plan
The first step in a useful product demo shot list is to decide what the video is meant to answer. That sounds simple, but it changes everything about the filming. A clip about a storage drawer opening has a different purpose from a clip showing how a chair folds, and each one needs a different sequence of shots. If you do not define the question first, the final video can end up full of attractive footage that does not actually help anyone decide anything.
A focused question also makes it easier to decide what information needs to be visible on screen. If the viewer needs to understand the size of a product, then dimensions or a scale reference become important. If the viewer needs to understand setup, then the opening steps matter more than decorative close-ups. Rather than trying to answer every buying question in one short video, choose one clear purpose and let that purpose shape the rest of the plan.
Write down the specifications the viewer needs to interpret what they see
A demonstration is easier to trust when the viewer has enough context to interpret it properly. That means identifying the specification details that matter for the chosen question, such as relevant dimensions or setup conditions. These details do not need to be shown in a long technical explanation, but they should be available somewhere in the plan so the footage and the words around it remain aligned. If a product looks compact, for example, a viewer may need a size reference to understand whether that compactness is real or only an effect of camera framing.
This step also helps prevent vague claims. A demonstration should not imply more than the recording and the specifications can support. If the product works well only in particular conditions, then those conditions need to be reflected in the way it is filmed and described. The aim is not to over-explain every detail on screen; it is to make sure the viewer can judge what the product actually does without filling in the gaps with guesswork.
Use context to show where and how the product belongs
Context is one of the most helpful things in a product demo because it tells the viewer where the item sits in real use. Starting with the product in a recognisable setting makes it easier to understand scale and purpose. A viewer can see whether the item looks right in a room, on a surface or alongside other objects, rather than trying to imagine that relationship from a blank background. This is particularly useful when the item’s value depends on fit, layout or ease of use in a normal space.
A simple scale reference can be more useful than a polished effect, because it gives the viewer a practical frame of reference. The point is not to stage a dramatic reveal. It is to show the item as it would reasonably appear to a customer. If the product is meant to be handled, opened, moved or placed somewhere, that context should appear early in the video so the viewer does not have to wait until the end to understand what they are looking at.
Show setup steps clearly, even when they are not glamorous
Setup is often where a product demo becomes most valuable, because this is where a buyer can see what the experience will actually be like. A shot list should include the steps a customer needs to understand, not just the final result. That may mean showing how parts come together, what is adjusted first, or what the product looks like before the main operation begins. Clear setup footage is especially useful when the product has any conditions that affect use, because those details help prevent disappointment later.
If a setup stage takes longer than the finished video can comfortably show, the solution is not to imply that it was instant. Instead, shorten the footage honestly and make that clear if needed. Viewers can accept edited footage when it is presented as a summary of a longer process. What they should not be led to believe is that the product performs a task with no effort when the real setup requires more than that. Honest editing is usually better than trying to make a task appear effortless.
Record the operation in a way that shows effort and limitations
The operation segment is the core of most product demos, so it needs special care. The camera should stay steady and the relevant action should remain in frame long enough for the viewer to understand what is happening. If the product has moving parts, a control sequence or a repeated action, those details should be visible rather than implied. A viewer watching a demo is not only looking for the outcome; they are also looking for the process, because the process often tells them whether the item is practical for them.
It is equally important not to hide effort or limitations. If something takes force, careful alignment or a particular sequence, that should not be disguised by cutting away at the exact moment the difficult part happens. Clear operation footage builds trust because it shows the item as it really behaves. A good shot list therefore includes the action in a form that is easy to understand, even if that means the result is a little less polished than a heavily edited advert would be.
Include the details that stop viewers making the wrong assumptions
Many product misunderstandings come from missing small details rather than from major mistakes. Controls, connections, storage size and included accessories can all affect how a viewer interprets what they see. If those details answer the main question, they should appear in the shot list. For example, if an accessory changes what the product can do, or if a control affects how it operates, the viewer should be able to see that clearly instead of being left to guess. The point is not to show every part of the item, but to show the parts that matter to the promise of the video.
A particularly useful distinction is between what is included and what is merely optional. Viewers often assume the items on screen come with the product unless the video makes the difference obvious. That is why it helps to show the contents supplied with the product separately from any extras. If the product is shown with an accessory, the caption or voiceover should make it clear whether that accessory is included. This avoids confusion and keeps the demonstration aligned with the actual offer rather than a more impressive-looking setup.
Follow the instructions and keep the demonstration honest
A product demo shot list should respect the manufacturer’s instructions and the safe way the item is meant to be used. That is not just a sensible precaution; it is part of making the video reliable. If the filming process uses the product in a way that is not intended, the result can be misleading even if the footage looks impressive. Viewers are better served by a demonstration that reflects ordinary use than by one that tries to create drama through an improvised method.
The same principle applies when a product is a prototype, a sample or a different model from the one the viewer would actually receive. In those cases, the item should be identified clearly. A demo only works if the viewer knows what they are looking at. Without that clarity, even accurate footage can become misleading. The shot list should therefore include a reminder to label the item honestly and to avoid presenting a representative example as though it were the final version if it is not.
Keep the filming practical: steady camera, clear frame, useful pace
Good product demos do not need complicated filming tricks. In fact, the clearer approach is usually the better one. A steady camera helps the viewer focus on the item instead of being distracted by motion. Keeping the relevant action in frame means the audience can follow what is happening without guessing where to look. If the product is small or has several parts, the shot list should remind the filmer to frame the section that matters at each step, rather than trying to capture everything at once.
Pace matters too. A demo should be concise enough to stay clear, but not so tight that it loses an essential step. This is where a shot list earns its keep: it helps the filmer decide what can be shortened and what cannot. If a clip needs to be shortened for the final edit, the important thing is to preserve the logic of the process. The viewer should still be able to understand what happened, even if the video does not show every second of it.
Close with a summary that matches the footage
The ending of a product demo should not suddenly become a separate sales message. It should summarise what the viewer has just seen and point them to the next useful piece of information, such as current specifications or the relevant service. If the video has shown setup, operation and key details clearly, then the closing line can simply reinforce that understanding. The viewer should leave knowing what the product does and where to check the details that were not part of the clip.
It also helps to check the video with the sound off, because many people will watch in that way. If the meaning is unclear without audio, readable captions can make the message easier to follow. Any use of music or other assets should be supported by appropriate rights. This final check is not an afterthought; it is part of making sure the finished video still says what the footage says, even when someone watches it silently or on a small screen.
Use a reusable shot list and review the draft against the footage
A shot list becomes most useful when it can be reused rather than written from scratch each time. The basic structure can stay the same: start with the question, show context, show setup, show operation, include the clarifying details and end with an accurate summary. What changes from product to product is the specific question and the details that matter. That makes the process efficient without making the result generic. A reusable list gives small businesses a practical method that can be adapted to each item without losing honesty or clarity.
When the draft is ready, the final review should compare the wording and the footage together. This is where many problems are caught, because a sentence can easily suggest more than the demonstration actually shows. Reviewing both side by side helps make sure the words do not claim more than the recording supports. Jasoto AI can help turn verified specifications into a shot plan or caption, but the draft still needs human review so the final video remains faithful to what was actually filmed.
Your practical checklist
- Choose one buying question for the video to answer.
- List the specifications needed to interpret the demonstration.
- Film the product in a recognisable setting with a size reference.
- Show the setup steps and the real operation clearly.
- Make it obvious which accessories are included and which are optional.
- Check captions, sound-off viewing and rights for any added music or assets.
- Compare the final script or caption with the footage to ensure it stays accurate.
Frequently asked questions
Should a product demo video always be very short?
It should be concise, but length should follow the question being answered rather than an arbitrary target. If a necessary step is omitted, the viewer may be left with the wrong impression, so clarity matters more than brevity on its own.
Can AI animation be used as a product demonstration?
It can be used to illustrate a concept, but it should be labelled clearly. Simulated operation should not be presented as evidence of how the real product performs, especially when the viewer needs to understand actual setup or use.
Do I need to show every feature in one video?
No. A focused demo is usually better than a crowded one. Pick the feature or question that matters most, then link to the product page or other current specifications for the rest of the detail.
What is the most common mistake in a demo shot list?
A common mistake is planning for visuals first and the buyer’s question second. That can lead to polished footage that never explains the product clearly, or to editing that removes the step the viewer actually needed to see.
Develop your ideas with Jasoto AI
Use your verified notes to prepare a first draft, then review the facts and wording before sharing it.
Open Jasoto AI