
Jasoto Guides · UK Guide 2026
Plan a 3D Pop-Out Advert with Jasoto
Updated 9 September 2026 · 1,966 words
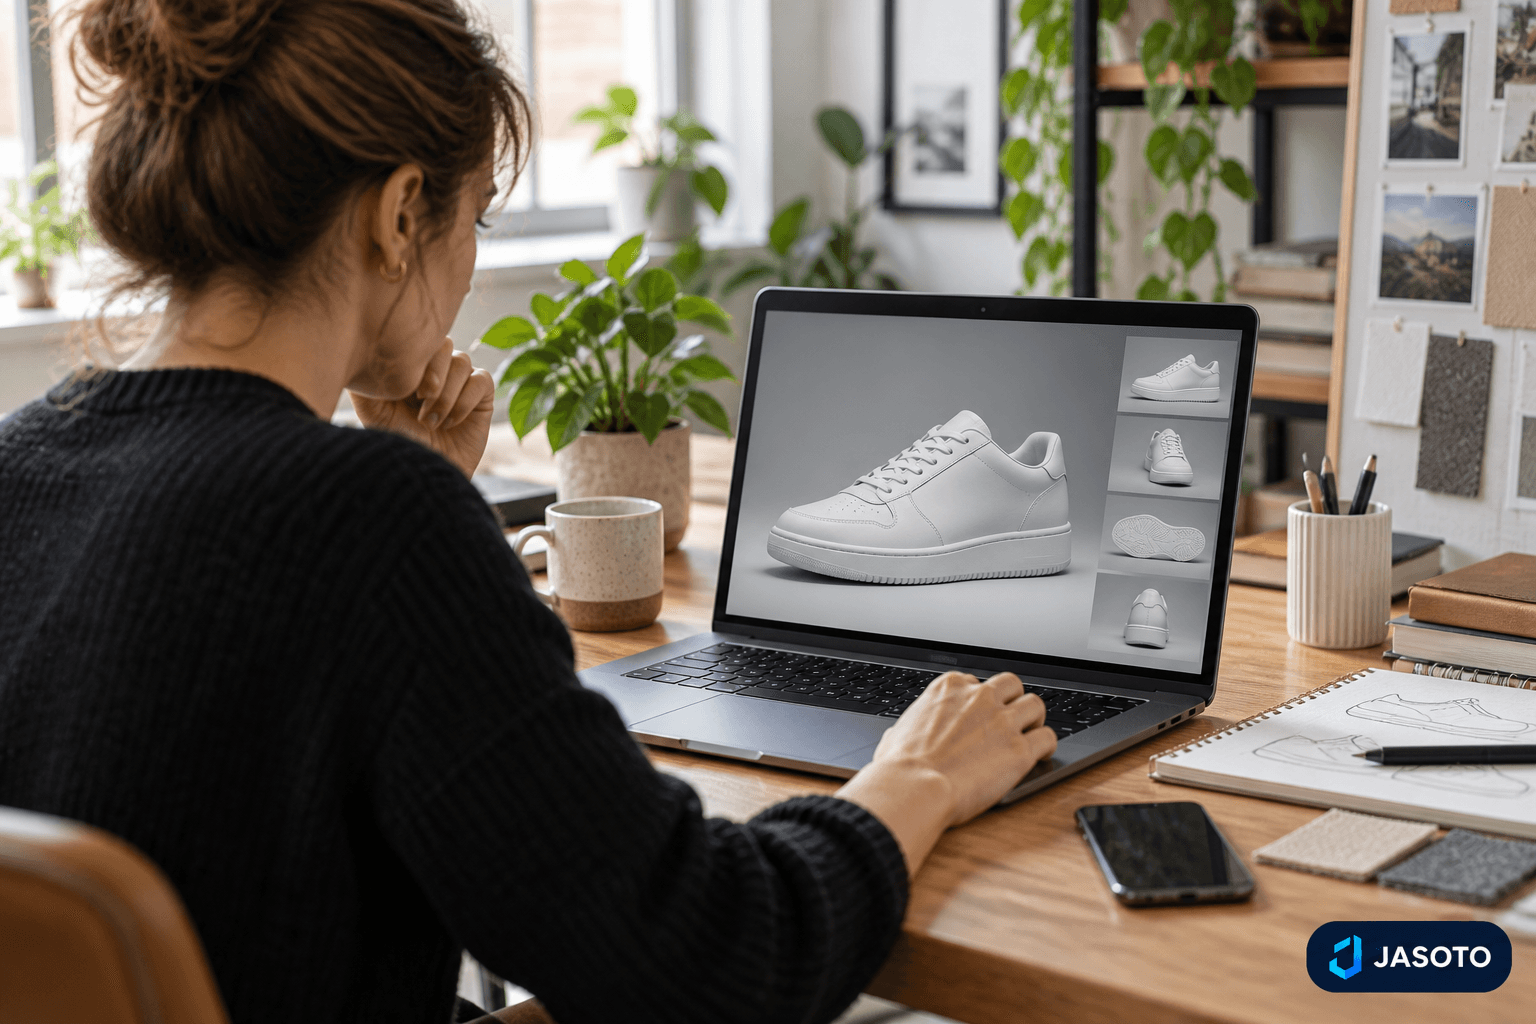
AI-generated illustrative image. It does not depict an actual customer project or a tested product.
A 3D Pop-Out advert can be a useful way to make a product or subject stand out in social content, but the effect only works well when the source material is clear and the message is controlled. Jasoto’s published workflow starts with an uploaded image, produces a preview, and then offers video animation and download. That means the practical job is not simply to create something eye-catching. It is to guide each stage so the result still represents the real product or service accurately.
If you are planning a Jasoto 3D Pop-Out advert, it helps to think in two layers at once. First, choose the right image and know what you want the advert to say. Second, inspect the preview and finished video carefully before using it anywhere public. The effect is creative, but it is still only a visual treatment. It should support a genuine advert, not replace the need for a clear message, a current caption and accurate product information.
At a glance
- Use a clear, permitted source image with one main subject and one message.
- Review Jasoto’s current 3D Studio controls, account requirements and credits before generating.
- Compare the preview carefully with the original, especially for shape, labels and complex details.
- Watch the full finished video, confirm the download and keep the caption accurate and current.
1. Start with one clear subject and one message
The first decision is not which effect to use, but what the advert is meant to communicate. A single product or subject is usually easier to judge than a crowded scene with several unrelated offers. If the viewer has to work hard to see what matters, the 3D effect can make the image busier rather than clearer. A focused source image gives the preview a better chance of showing the subject cleanly and helps you judge whether the result still fits the intended advert.
It also helps to decide the message before opening the tool. For example, a business might want to highlight one featured item, one service or one seasonal promotion. That does not mean the visual has to be plain; it means the visual should have a clear job. When the subject and the message are chosen first, it becomes much easier to tell whether the effect adds value or distracts from the main point.
2. Choose a source image you are allowed to use
Jasoto’s workflow begins with an uploaded image, so the quality and suitability of that image matter from the start. Use a clear photograph with the main subject visible and enough separation from the background to understand the shape. This makes it easier for the preview stage to interpret the subject and for you to compare the result against the original. A cluttered or unclear image may still generate something, but it is harder to trust the outcome when the source is ambiguous.
Permission matters too. Use an image you have permission to upload and use in advertising, and remove unnecessary personal information before you begin. That is especially important if the image contains a person, a customer detail or anything that is not meant to appear in public content. The safer habit is to treat the uploaded image as advertising material from the outset, not as a casual file that can be repurposed without checking.
3. Check the current Jasoto Studio details before you generate
Jasoto’s 3D Studio is the place to review the current workflow. Before generating anything, check the available controls, account requirements and credit information shown in the interface. Features and charges can change, so use the current details shown in the tool when deciding how to proceed with that session. That is a practical step, not a formality, because it helps you avoid working from assumptions.
It is also sensible to keep the upload and preview process in view rather than rushing ahead. The point of a preview stage is to let you assess the result before you commit to animation. Keep the reference image available for comparison so you can check whether the output is still recognisably tied to the original. A successful generation is not the same thing as an accurate one, so the interface should be used as a checking process, not a shortcut around review.
4. Read the preview as a quality check, not as a final asset
The preview stage is where many problems are easiest to catch. Compare the shape, proportions, labels and key details with the source image. If the subject includes hands, faces or other complex features, give those extra attention because small distortions can be distracting or misleading. It is also worth asking whether the preview could imply a product function or result that is not real. A visual effect should not create an impression that the business cannot support.
If the preview is unsuitable, correct the input or use the available revision process before spending time on animation. That matters because motion can make flaws harder to notice while still leaving them present in the final file. A preview that looks only slightly off can become more distracting once it moves, especially if the subject is meant to be the main focus. Treat the preview as the stage where you decide whether the image is fit for promotion at all.
5. Decide what counts as an acceptable match
A useful way to assess the preview is to compare it against a few simple questions. Does it still look like the intended subject? Do the important labels or visible features remain readable and consistent? Does the image suggest a real product or service, rather than an exaggerated claim? These checks are especially helpful when the original image is simple but the animation effect introduces movement or depth that can change how the scene feels.
This kind of checking is not about perfection for its own sake. It is about deciding whether the output is close enough to the source to be used honestly. A Pop-Out advert is meant to attract attention, but it should not blur the line between a creative treatment and a factual statement. If the preview makes the subject look distorted, unclear or over-promoted, the safer choice is to revise the input rather than hoping the motion will make it acceptable.
6. Use the animation step only after the preview is approved
Once the preview looks suitable, the available animation option can be used to create the finished video. At this point the purpose of your earlier checking becomes very practical: you are trying to avoid spending time on a version that cannot be used. The animation stage is not where the core accuracy problems should first be discovered. Those should already have been resolved during preview review.
After animation, watch the full result from start to finish. Look for distortion, flicker, unexpected objects or misleading motion. Motion can draw attention to problems that were less obvious in a still preview, so it is worth reviewing the complete file rather than a short section. If the result is not right, it is better to revisit the source or the preview process than to assume the viewer will overlook the issue.
7. Test the downloaded file in the place where it will be used
After downloading the finished video, open the saved file and check that it plays from beginning to end. Confirm that the download works, then preview the file in the intended social placement. A video can look acceptable in one context but behave differently in another, so it is sensible to see it in the same sort of environment where it will be published. This is especially useful when the visual depends on spacing, framing or motion timing to make sense.
At this stage you are checking practical usability rather than artistic quality. Does the file display correctly? Does the effect still frame the subject clearly when viewed as part of a social post? Is anything clipped, awkward or hard to read? Even a visually strong advert can become less effective if the final file is not suited to the intended placement. The goal is to make sure the exported version still supports the message you planned at the beginning.
8. Write a caption that explains the real offer and the effect
The caption should work with the video, not compete with it. Explain the real product or service plainly and identify the AI visual effect where relevant. That keeps the audience oriented and helps avoid any suggestion that the visual treatment itself is evidence of how the product works. If you are mentioning a price or offer, keep it current. Review the caption again whenever the promotion changes, even if you plan to reuse the same visual.
A helpful caption does not need to over-explain the effect, but it should give context. For example, if the video uses a Pop-Out treatment to feature a product, the text can still say what the product is and what the viewer is looking at. The point is clarity. A generated effect may make the post more attention-grabbing, but it should not leave people guessing about what is being sold or whether any visual detail is intended as a factual claim.
9. Keep expectations realistic and troubleshoot the common pitfalls
A Pop-Out effect is a creative format, not a guarantee of reach, engagement or sales. That caution matters because it keeps the workflow grounded in advertising reality. The visual can help a post stand out, but it does not replace the need for a relevant offer, an accurate caption and a source image that is easy to understand. If the outcome is underwhelming, the issue may not be the effect itself; it may be the source image, the message or the placement.
Common problems usually trace back to the same few areas. The image may be too busy, the subject may be unclear, the preview may not have been checked closely enough, or the caption may say more than the video can support. If the result feels off, return to the earliest decision that can be corrected: the source image, the message or the preview review. That step-by-step troubleshooting approach is more reliable than trying to rescue a weak advert after it has already been published.
Your practical checklist
- Use a clear image with permission.
- Remove unnecessary personal information before uploading.
- Check the current account and credit details in Jasoto 3D Studio.
- Compare the preview with the original image before animating.
- Watch the complete video for distortion, flicker or misleading motion.
- Preview the downloaded file in the intended social placement.
- Write a caption that explains the real offer and keeps any price or promotion current.
Frequently asked questions
Should I move from the first preview straight to animation?
No. Review the preview first and compare it with the source image. Check the subject, labels and any complex features, then animate only when the preview is suitable for the advert.
Is a Pop-Out video proof of a product result or function?
No. It is a visual effect, not evidence. Use real demonstrations and verified product information for any performance claim, and keep the generated effect clearly contextualised in the caption.
Why does Jasoto recommend checking the current interface details first?
Because features and charges can change. The current account, control and credit information shown in the tool should guide the session, rather than assumptions from an earlier workflow.
What is the simplest way to reduce mistakes in a Pop-Out advert?
Start with a clear image, check the preview carefully, and watch the full video before sharing. Those three checks catch most of the common problems before the advert goes public.
Try Jasoto 3D Studio
Prepare your source image, check the current options and review the preview before creating a video.
Open 3D Studio